Thursday, July 14, 2016

Ella and the LaConner Quilt Fest


 "Ella" is my most recent FINISHED quilt.  It is based on a photo my daughter took in the French Quarter in New Orleans this spring.  Though the photo was in color, I was attracted to the high contrast between the brilliantly sunlit areas and deep shadows. (It didn't hurt that the subject is my granddaughter.)  I decided to make the composition in black and white to emphasize the value range, and to make the background solid black to further emphasize the value range.

The piece is raw edge appliqued and free motion quilted with "invisiible" mono-poly thread from Superior Thread on my new Bernina 770QE.  if you opt for clear thread, make sure it is not the cheaper nylon thread, because  nylon will melt when touched with a hot iron.  Mono-poly does not, and it also works well in the bobbin.  Mono-poly thread is a bit stretchy, so when loading a bobbin, it helps to fill the bobbin more slowly than usual if your machine allows for that.

I used a wool batting, and that caused a few problems.  The batting "bearded" ever so slightly, but with all that black, every little tuft of white pulled up by the needle really showed.  Some tufts  I could push back into the fabric with the point of a seam ripper, others I had to disguise with a black Sharpie Marker.  There's always something challenging, huh?

I have applied to show "Ella" at the LaConner Quilt and Fiber Art Festival this fall, but have not yet heard if she's been accepted--letters go out the first week or so of August.

I've shown several quilts at the festival over the years, and really like this small, folksy show that draws amazing entries from quilters all over the world.

I also like having a reason to go to LaConner, which is one of Washington's many cute little, 1800's vintage waterfront towns.   Sipping a cup of good coffee, looking at great quilts, and shopping for hand dyes from the show vendors, plus a swing through the local fabric shop, makes for a pretty perfect day.


Thursday, July 7, 2016

The Bernina 770QE: My new Sometimes Friend

This big girl has been sitting in my sewing studio now for 6 months.  I call her Clementine, because her shoes are number 9, referring to the 9 millimeter presser foot, but more about that later. 

The old Activa work horse
After debating and equivocating for months and months, and finally slashing out $5000 to buy the 770Quilter's Edition, without the embroidery unit, I must say, I am underwhelmed.  I've had a Bernina Activa 145 for 15 years, and cannot say enough good things about that straight-forward, little work horse of a machine.  "Little" being the operative word.  When Bernina came out with the larger machines a while back, I lusted after one.  Originally I longed to own an 820 or 830, but before I could summon the courage to spend that kind of dough, Bernina dumped them because they turned out to be troublesome lemons. The company then came out with a second series of 7s--including the 770QE and 790.  I think Bernina worked out some of the bugs that plagued the 8-series, including the flawed hook system, but my 770QE is still a temperamental beast.

Initially, it takes a lot of exploring to discover all the things this machine will do.  There are literally hundreds of adjustments and setting--if you can find them--and having once found them, if you can get back to home base to actually sew.  Being a big computer with a tiny screen, functions are buried in multiple layers of programming, and not always in an intuitive way.  And like a computer, you can get weird "fatal error" messages in the middle of a routine operation.  The manual that comes with the machine is skimpy, and the on-line Bernina videos are not overly helpful, though they have lots of cute pictures of cats rolling around on quilts.  Fortunately, there is a Yahoo Group of 770QE owners.  Their email is Bernina7Series@yahoogroups.com.  Members share lots of good information and coach each other through problem solving various issues.

What I like
  • The wide harp area--not as big as some brands, but still very good.
  • The bright LED lights (which can be dimmed if you are working on shiny fabrics.)
  • EVERYTHING is adjustable, if you can just figure out the screen and how many layers in the feature is.  With time I've learned where the main things I need are located.
  • The thread cutter. It works well on my machine, but not on the machines of several of the 770QE yahoo group members and other 770 owners I know.
  • A separate motor for bobbin winding--though mine doesn't work properly.  It puts in loose areas as it winds that end up producing big loops on the backside of a seam as I sew. The winding speed is adjustable, but no matter what speed I choose, the bobbin does not wind on consistantly.  It also winds the thread on in a cone instead of a stacked cylinder unless I guide the thread with my fingers. 
  • The hands-free knee lifter, which has been a part of Bernina machines for decades, is great.
  • The HUGE bobbins.  They make me almost forget I have a bobbin.
  • The two big nobs to the right of the blue screen (top photo).  They are for adjusting the width  and length of stitches, and make changes to either easy, and instantly visible on the screen.  (Note:  The large round silver thing on the far right is a suction cup magnet that I got from Leah Day) 
Finally tore the useless little doors off this  hard to use box.
What I don't like
  • Lack of serious documentation.
  • The small, flimsy slide-on table.  I thought it would break just from resting my hands on it.  I bought an acrylic Sew Steady 18"x24" table (pictured above), which I like a lot.  It sits on it's own legs, and being clear, it doesn't have to be removed every time I change a bobbin.
  • That Barbie's-Little-Sewing-Case thing that holds the feet and other small stuff related to the machine.  Yeesh.  It's super tippy and the design hasn't changed in years. 
What I am Ambivalent about
  • The 9mm wide presser foot.  True, you can zigzag a seam the width of a sidewalk, but so far I don't really see an advantage to it.  Also, when sewing really narrow seams, which I do in some of my constructions, the feed dogs are too far apart to feed the fabric evenly, so I revert to my old Activa.  (Glad I didn't sell it!)
  • The button that allows you to sew without using a foot control.  Really?  Whose cockamamie idea was that?
  • The "dual feed" that is supposed to be like a built in walking foot, but so far, in my usage anyway, doesn't quite make the grade. 
  • The BSR, (Bernina Stitch Regulator) that comes with the quilter's edition.  It's nice, but another piece of fussy tack with a big learning curve (and big price tag if you purchase it separately--$1100.). I've free-motion quilted for years without one, and thought I'd love the BSR, but turns out I only just barely like it, the way you like, oh say a new mouse pad.  
So I continue to work on becoming friends with my new companion.  It would help if she wouldn't crash and go completely blank right in the middle of a project, or freeze up for no apparent reason with a picture of grinding gears on the screen, or continually tell me the bobbin is empty when it is completely full--situations that are usually cured by turning off the machine for a few minutes, and then turning it back on, where upon she sews happily away for another 10 or 15 minutes before the next crisis. 

Thursday, March 24, 2016

At Long Last, with a Little Help from my Bernina 770QE

I started my gull quilt, Dinner for Four, over two years ago, but lots of life got in the way.  My father got sick and died, my husband and I took a two month road trip, later we went to France for two months.  The half-finished gulls were left pinned to the wall for ages.  I bought a new sewing machine, a Bernina 770 QE In January, and that refueled my motivation.  I'll write more about my machine later.  

The quilt still isn't finished...it needs to be quilted and bound, but today I stitched the last waves to the watery background.  Whew.

I plan to embellish around the fronts of the birds with cheese cloth to make the water splash like I did on my whale quilt.


The birds. Are raw-edge pieces glued with glue stick to a heavily starched muslin backing.
  The water is turned edge strips of black and gray fabrics that will be enhanced with various threads when I quilt the piece.  I,m thinking of working metalic threads in for a watery sparkle...not sure of that yet though.  The background is not glued or stitched to a backing fabric as I find that makes it harder to keep everything flat when I quilt it.  I used a turned edge applique process for that.

 My technique for turned edge applique is to glue each piece to the next along the quarter-inch seam line before stitching the seams with a blind hem stitch.  I use washable, bottled school glue for this .  Below a section of the water is being constructed.  The pattern is drawn on freezer paper.  I cut the pattern piece out, iron it to the right side of the fabric, then cut the fabric roughly a quarter inch from the paper.  The edges that will be on top are turned, those that tuck under are left raw edged.  I dampen the edge I am turning with sprach starch by painting the spray starch on with a foam beush.  (Spray the starch into a cup to get enough to paint on the fabric.
This shows the back of the fabric being "painted" with spray starch.  The freezer paper side is face down.  After wetting the fabric with the starch, i pull the fabric to the back along the edge of the freezer paper, and iron it down.  No reversing of the pattern is needed this way, and the pattern piece can be put back in the space it came out of, and fit perfectly.

At least it can be put back and fit perfectly, IN THEORY.   Well, back at it, and hopefully I'll finish this piece before I am shuffled off to the Shady Rest.

Thursday, November 19, 2015

Traveling Art

Even though I've been in France for almost two months, some of my art pieces have been making their own journeys here and there.
 My piece, Requiem for 10,000 Trees has been traveling in a Studio Art Quilter's Association trunk show.    I've pretty much lost track of it for now through my shoddy record keeping.  Eventually, it is to go to the National Quilt Museum to become part of the permanent collection in 2017.  Two other quilts have been on exhibit at the Orcas Center--close to home.  One of them, Return to the Elwah, commemorating the ermoval of two dams on the Elwah River, sold during the exhibit for a pretty penny.
I haven't made a quilted piece in more than a year, mostly because I've been traveling and focusing on sketching. I have some pieces in my studio that are half finished, and when I return home, I plan to at least finish those two pieces before I start anything else.  ( Promise to self.)

And my largest piece, Farewell to Ruffles, sold at the Houston Quilt show a few years ago.  That has always felt very odd to me.  It sold, I got a large check from the Houston Show Organizers , but I have no idea who bought the piece or why.  I guess I should have exhibited it "not for sale", but I didn't realize until it was gone that I was pretty attached to the piece.  At least with the Elwah piece, I know who the the buyer is, and know that she is an environmentalist and advocate for Marine ecologies, so I'm glad she liked the piece and bought it.


Sunday, October 5, 2014

Playing Hooky from Quilting with Sketchbook Skool


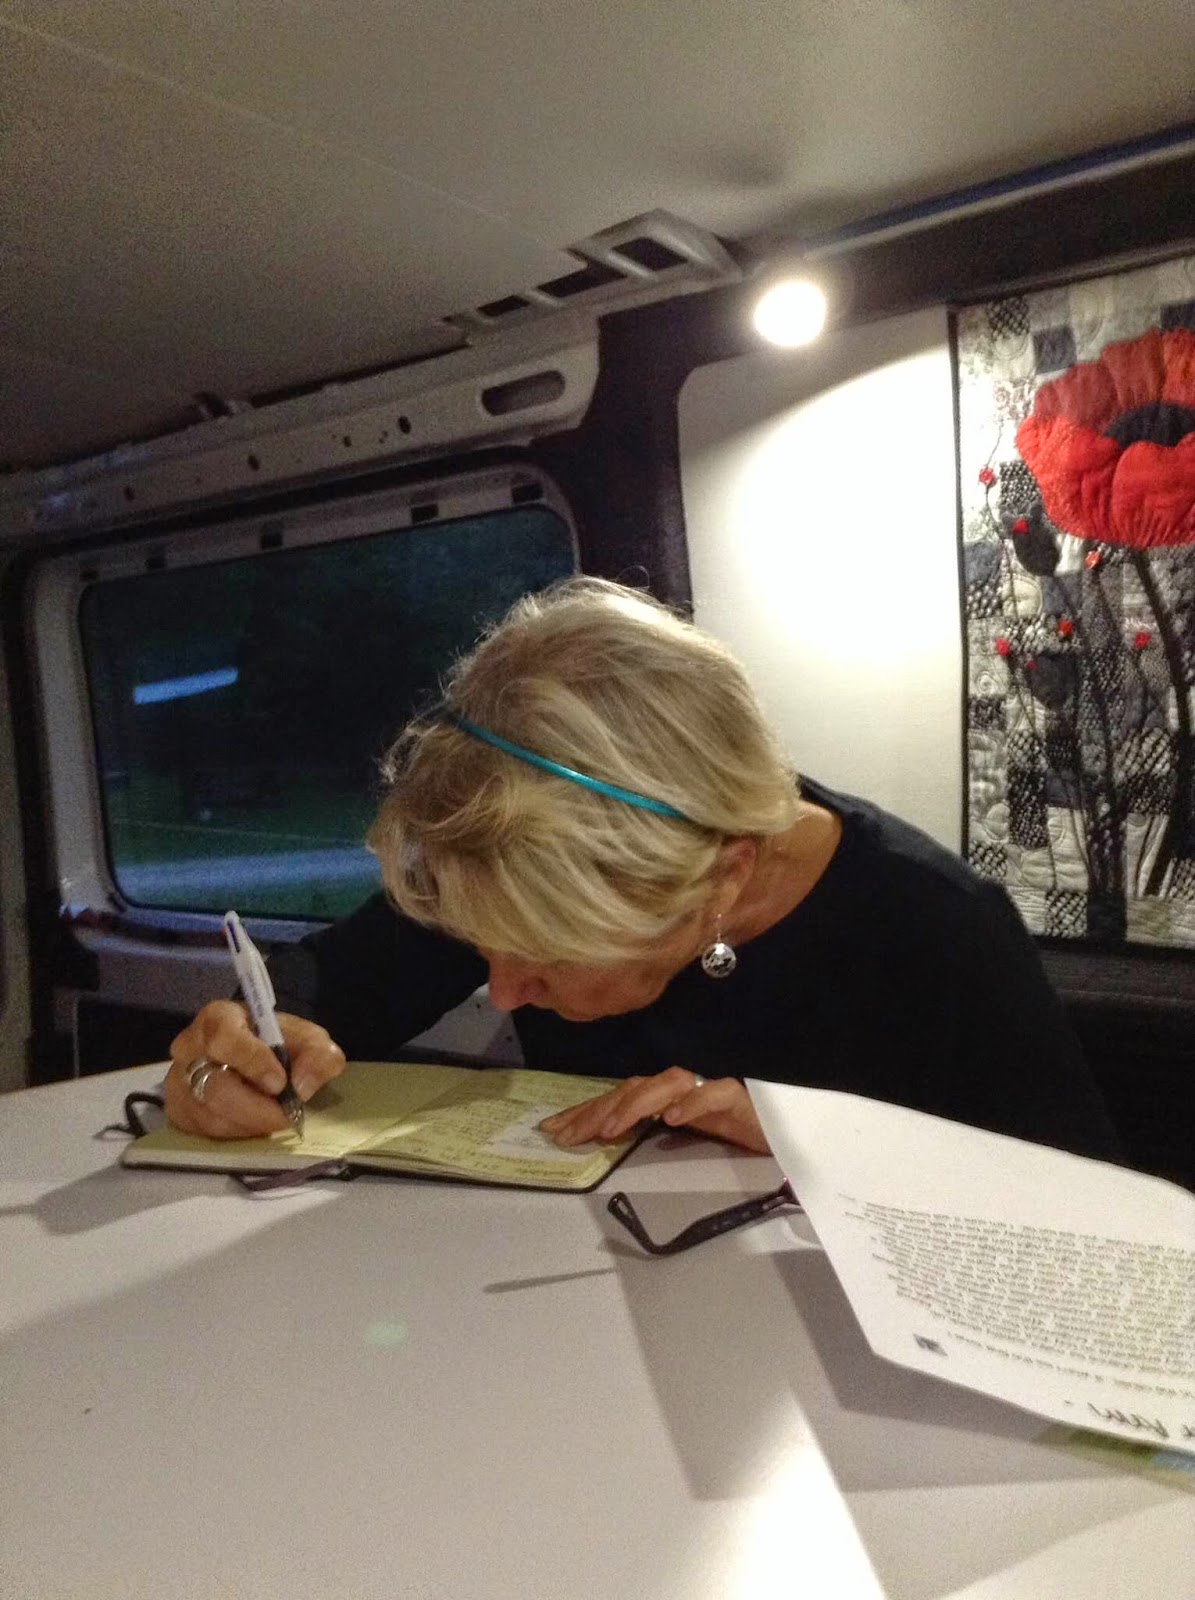
Me sketching on our recent road trip
If I'm not making art of some sort, I feel out of sorts...as though I haven't brushed my teeth or had my morning coffee, so when my husband and I bought a van and converted it to a camper (see PromastertoCamper.blogspot.com) I was happy about the idea of hitting the open road once again, but in a bit of a panic about having a portable art form.  I have 300 square feet of studio space that is bursting at the seams...how could I begin to take a project on the road?

Messy pages from an old studio sketchbooks


Enter Sketchbook Skool.  Danny Gregory and Koosje Koene conceived the idea of bringing together a cadre of skilled sketchbook artisits to teach sketchbooking techniques online.  I've kept a sketchbook/journal for decades, but my sketchbooks are a messy place where I dash out ideas that might one day become a quilt, scribble ideas I don't want to forget, and just doodle.  For me a sketchbook has been a means to an end, rather than an end in itself.  Although I've always envied the beautifully composed sketchbooks of people like Cathy Johnson, Gabriel Campanario, and lots of others that I can't think of right off the top of my head, I've never tried to make one myself..


So, when I stumbled on Sketchbook Skool back in March of this year, I realized I could up my game in sketchbooking, and have a portable art form to take on the road.  I didn't need to buy ANYTHING since I've been a compulsive buyer of pens, pencils, paints and sketchbooks since I was old enough to get an allowance,

Thanks to Sketchbook Skool, I'm sketching daily, which is bound to improve my art quilting, to say nothing of the quality of my sketchbooks, and sketching is so portable!    I haven't really found my style yet; I love watercolor, but the paper in my Moleskine journal doesn't love watercolor.  The paint just sits in a puddle on the surface and has to be scrubbed into the paper, but my rule is finish one journal before starting another, so I persist.   I'm really enjoying the process, even though I have some unfinished quilt pieces that are calling my name.  I should get back to my studio, but first I want to sketch just a little more!


Wednesday, August 27, 2014

SAQA Food for Thought....

SAQA, the Studio Art Quilters Association, has a call out for entries to their upcoming exhibit called Food for Thought.

I have been struggling all week with a composition depicting farmed salmon.  I have been making Japanese-style fish prints on rather unnatural looking colored fabrics because I want the fish to  look manufactured.  I plan cross the fish with heavy black lines representing bars of the cage, and to have the water within and below the cage to look like toxic waste--because it is.

I've experimented with printing the fish on dry and damp fabric, using screen printing ink, acrylic paint and India ink.  The ink gives the very best print.  I'm using a rubber fish from Dick Blick, so fortunately, I don't have to worry about having a rotting fish in my studio.

I have also been toying with the idea of carving a stamp and printing a fish skeleton over the fish print to give a sort of x-ray effect, but my first attempts at that have fallen short, and I'm running out of time. The SAQA deadline is September 30th, but we are leaving on a trip September 20th, so I have to be finished, and photographed by then...eek.

I also want the water below the cage to look tainted in some way, since farmed salmon are not only bad for the health of the consumer, but devastating to the environment.

I'd better quit writing and get to work!!

Thursday, August 21, 2014

Back in the Saddle

Whew, it's been a rough summer.  My 91 year old father's health failed in May, he passed away in June, but his memorial service wasn't until July.  Since returning from his funeral, I've been pretty much a hermit, hanging out in my studio and working on a couple pieces, and even painting my studio, but not blogging.  

Piece number one, with the working title of Family Dinner,  has been in the pipeline for a year or so, but I've never gotten past the pattern making stage until now. 
 It's kind of fussy...the wings are made out of dozens of gray-ish fabrics,.  I'm not satisfied with the bird body on the right-hand side--more problems to be solved.

I'm doing a raw edge machine applique, rather than turning under each piece, as I felt the frayed edges were in keeping with the feathery look.   I'm using my usual construction method of tracing sections of my large cartoon onto freezer paper--for instance, the wing on the far right which is about three-quarters finished--then cutting each individual piece out of the freezer paper pattern, ironing it on to the desired fabric, cutting each little piece out, one at a time, placing the little freezer paper piece on the fabric, cutting it out, and placing it back in the the correct space

.Because this quilt is more complex than some of my others, I am determining which side to cut right up to the edge of the pattern, and which side to leave enough of seam allowance to tuck under adjoining pieces as I go.  Sometimes I work all of that out before hand, but I was getting in a muddle, so I just figure out the placement for 4 or 5 pieces at a time, and so far anyway, that seems to be working.

What is different about this project, is I cut a piece of white backing fabric the size of each section.  For example, in the photo above, the each wing and each bird body were handled separately, and a piece of white cotton the exact size of that section is the foundation.  Each small piece of fabric is lightly glued to the the backing fabric which hold it in place until I stitch it.  This solved two problems for me...
  • First of all, it gave me a firm foundation for each section that has LOTS of small pieces in it.  I've found with this many small pieces, only slightly attached to each other, with no backing fabric, things can fall apart and seams can open up if there is any strain on the fabric. 

  • Secondly, since I am using a lot of light colored fabrics, it helped with the transparency issue.
 After a section is complete, I use clear mono-filament thread on the top, and 60 wt. cotton thread in a neutral color in the bobbin and free-motion zigzag around each piece.  I've found using the free-motion foot keeps the fabric flatter and avoids the issue of pushing the fabric into a little pleat.  I use a narrow zigzag,  I'd say 1/16th inch or so, or 3 little bars on my Bernina.

Next time:  The second piece I'm working on, which is really messy, because I'm making fish prints as part of the quilt.